Monday, January 30, 2023

Quilt for Joyce


I finished this quilt at the beginning of January, but was waiting for it to be delivered to its new owner before showing it off. 

At the end of December my neighbor asked if I could make a quilt for her sister's 80th birthday which was coming up in January.


I told her I didn't have time to make a brand new quilt from scratch, but if she'd be interested in one of my UFOs I could finish one of those for her and have it ready in time for her Sister' birthday.


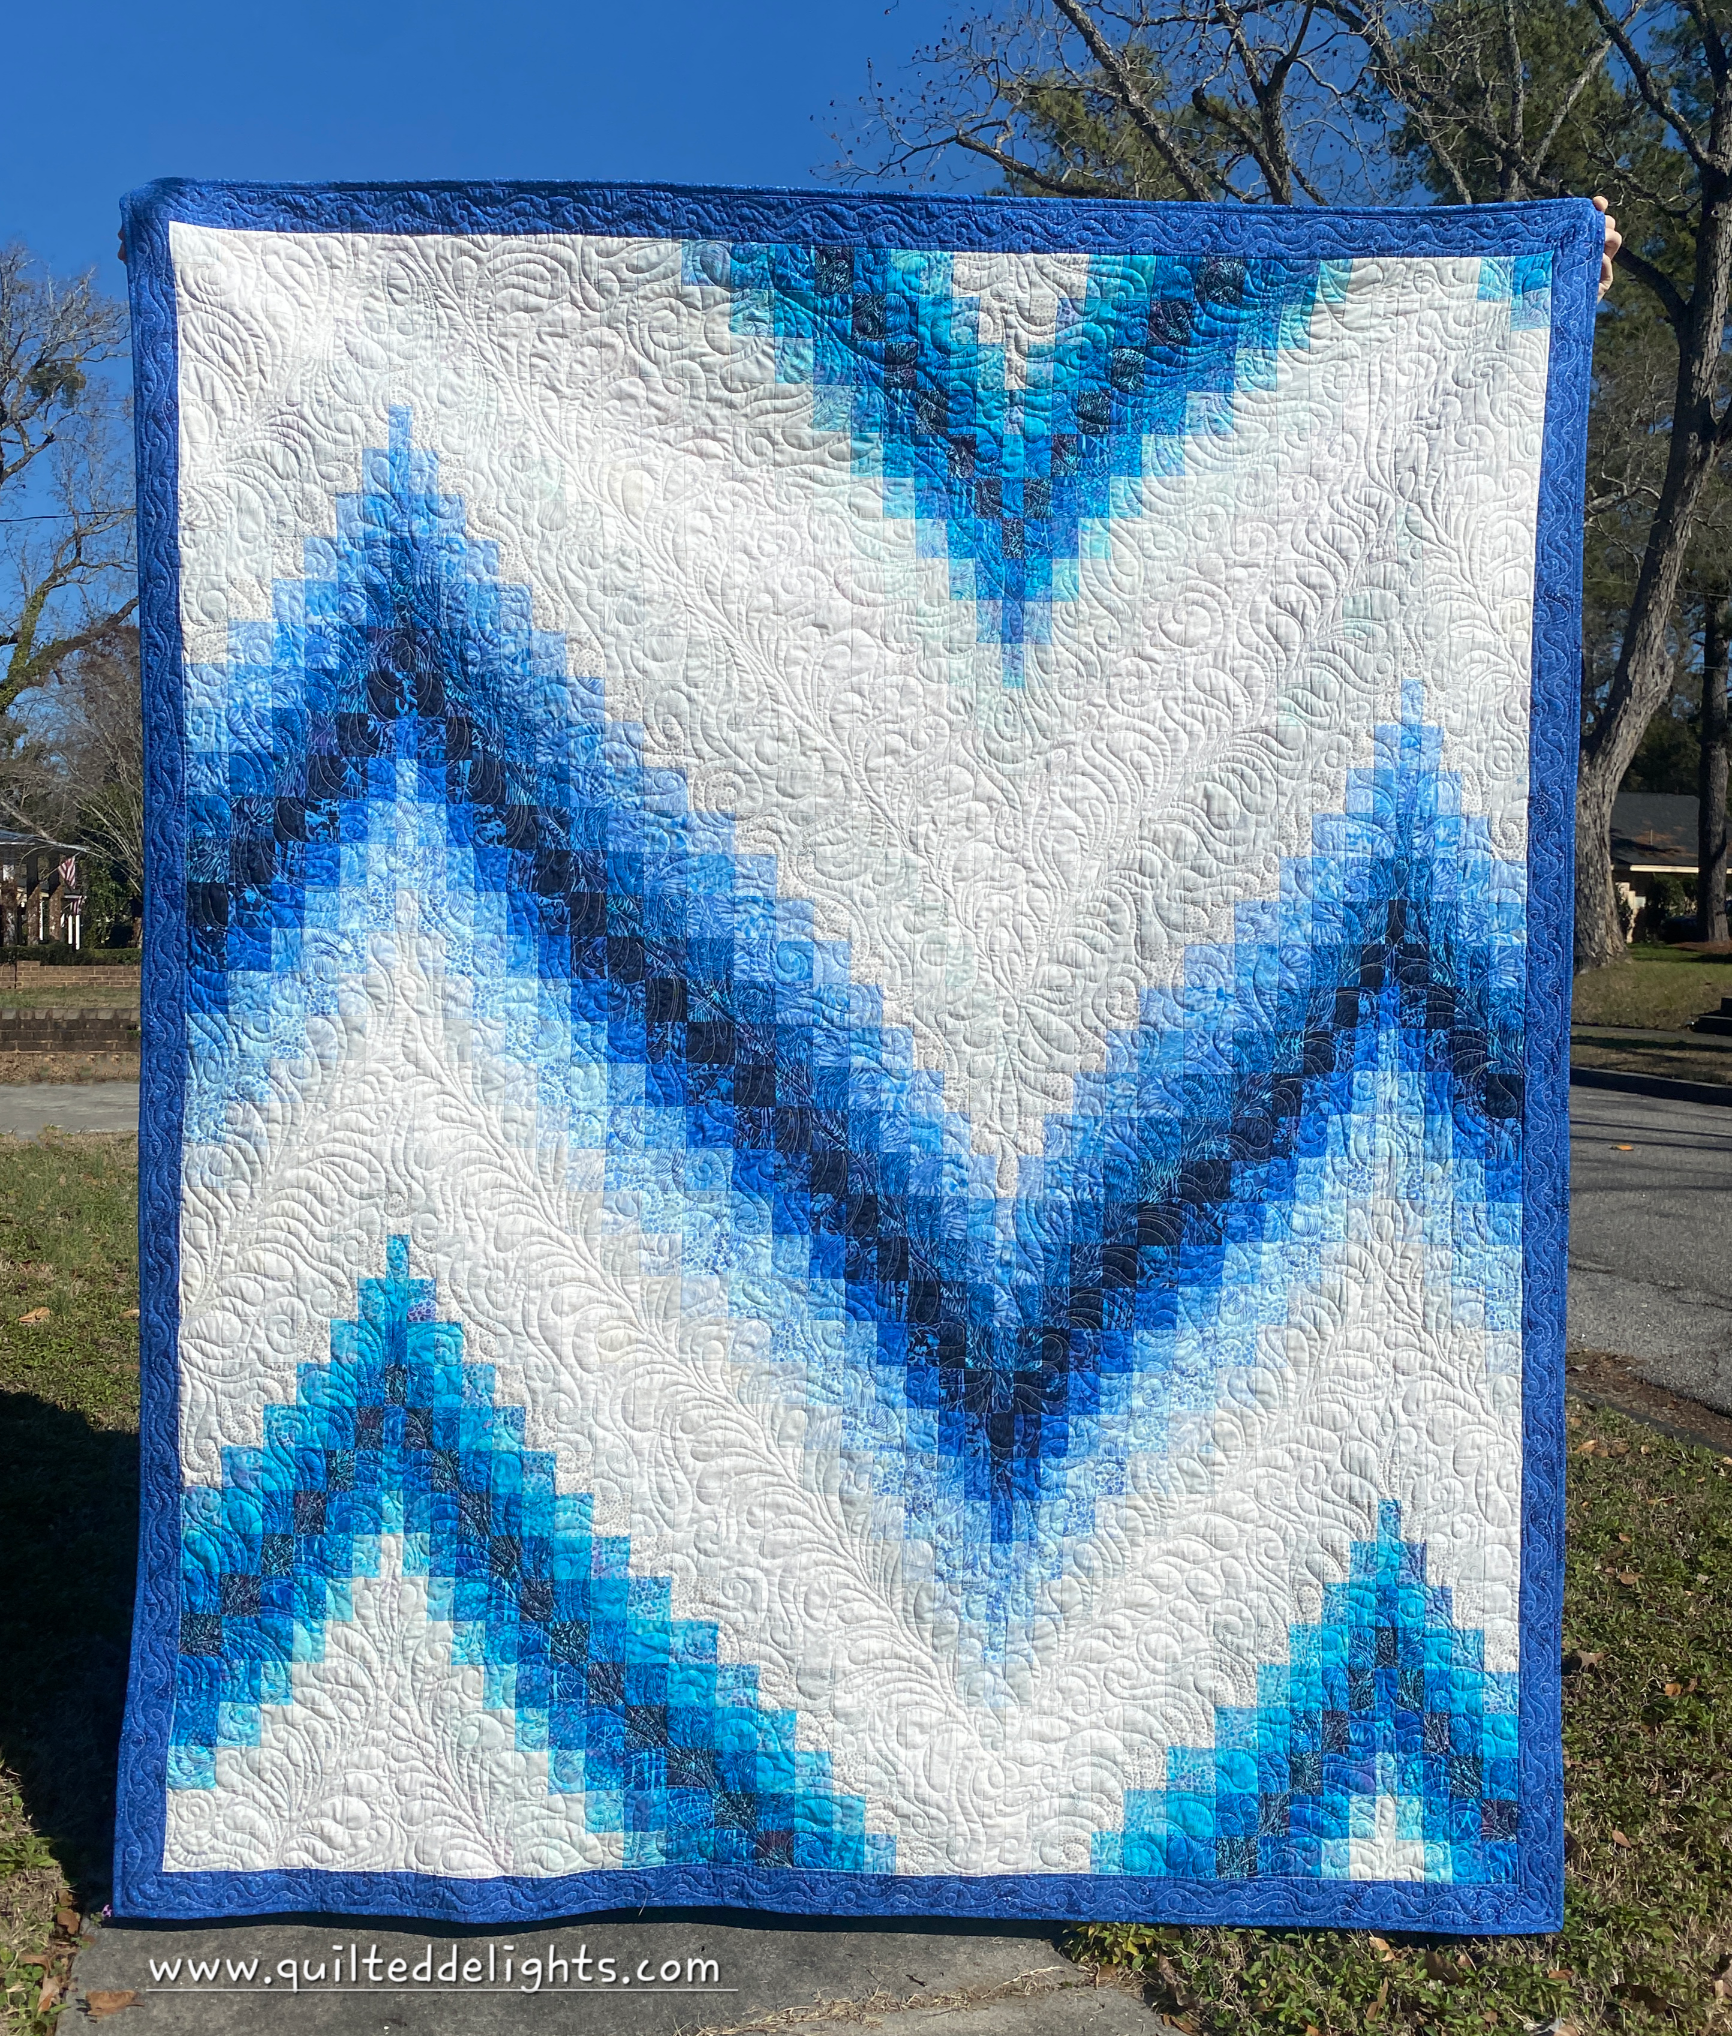
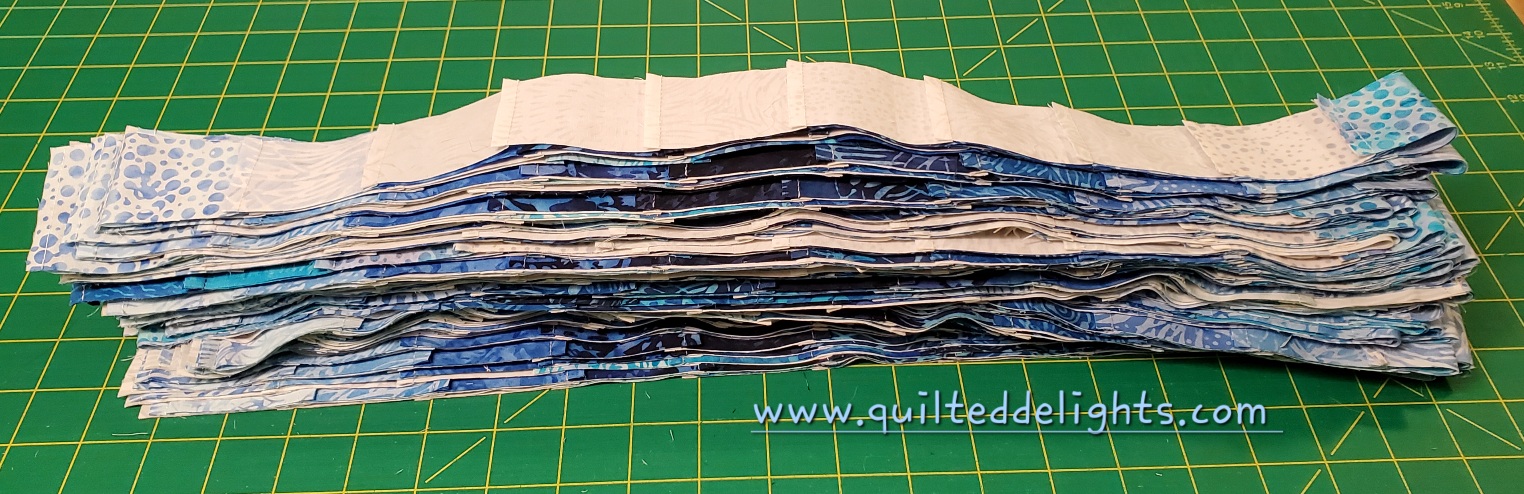
She picked out this older UFO and asked if I could make it a little bigger and piece her sister's name at the top.  I told her no problem.  I took apart the blocks and added a two inch sashing between them.  I needed to undo the top right corner anyway because one of the blocks was sewn in sideways which was the reason this one became a UFO in the first place. It got put in time out and then stayed there.


This quilt originally started in 2016 as part of a bee hive swap.
The block is called Shine Bright by Ms. Midge Quilting.


I pieced the name and added two large pinwheels in each side to balance things out.  I did have a row of pinwheels on the very bottom of the quilt too, but that made the quilt way longer than it was wide, so I took those off. 

The pattern for the letters come from Wayne Kollingers Sketchbook. I made them six inches tall and they sewed up pretty quick.


I made some Frankenbatting from two big left over pieces of Hobbs Premium cotton batting and got to quilting.


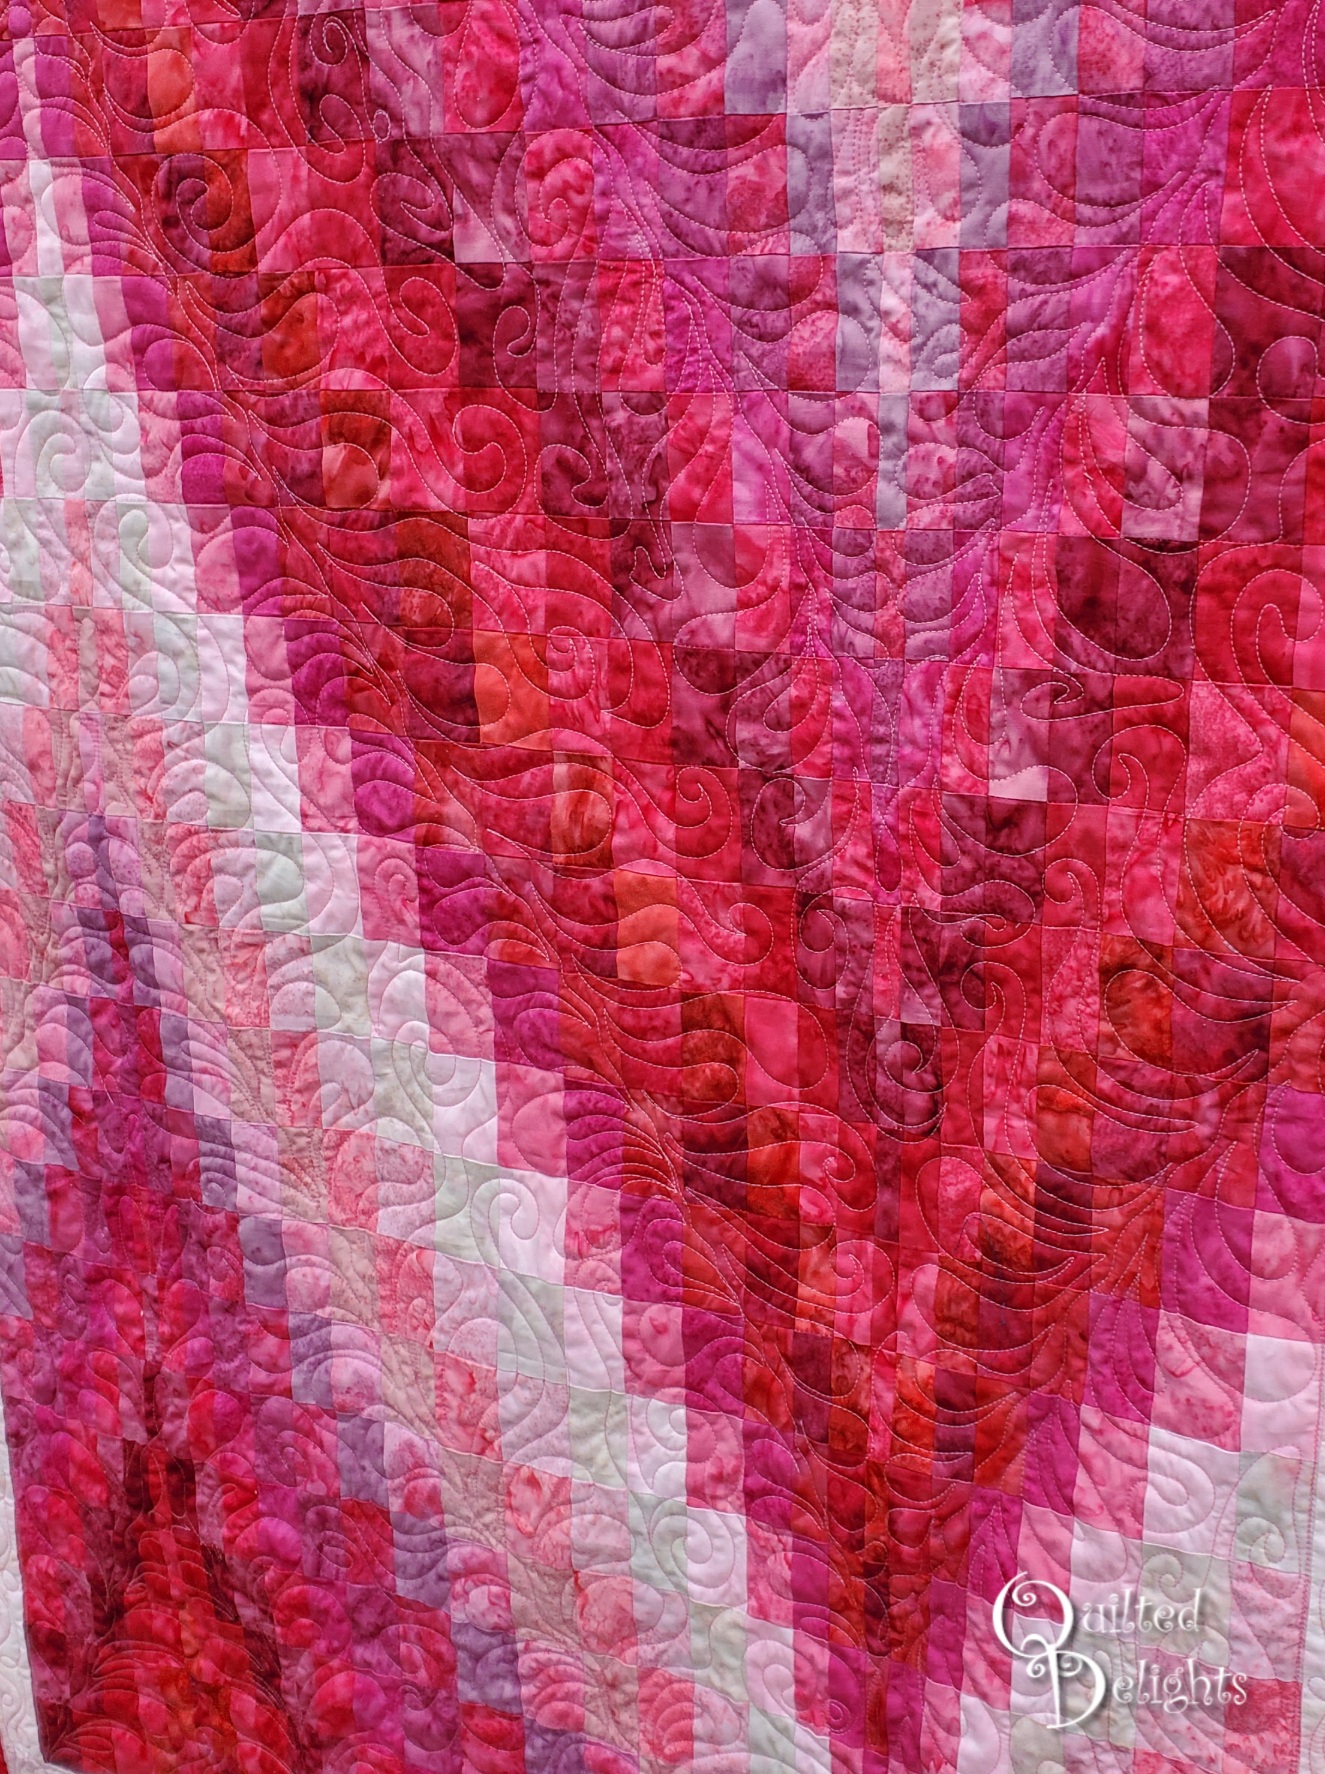
There wasn't a lot of time for custom quilting so this one got a fast swirly meander.


I think it turned out pretty good and I got an old UFO checked off my list and the new owner loved it!


Happy Quilting!


=^..^=


Sunday, January 29, 2023

Valentine Heart Bargello


Another UFO off the list!


On Valentines day 2021 I decided I needed a big Valentines Day quilt. I had seen a little quilt like this on Pinterest, but I wanted mine to be a bit bigger, so I played around in EQ8 and came up with this.


I pulled fabric from of my Personal Island Batik stash and used the 2.5 AccuQuilt strip die to cut my strips.


I was given the 2.5 inch strip die with my Island Batik Ambassador box a couple years ago. Originally I had reservations about these strip dies....


I love all the their triangle and odd shape dies, but surely I could cut straight lines faster and with less waste on my own. But, as I was hand cutting strips without the die for another project, I realized every 4 or 5 strips I had to straighten my edge up again.  When cutting 60 strips that's a lot of waste. Probably the same if not more than what the edges of the die would produce.


I also realized I was spending the same amount of prep time I would be using with the AccuQuilt die as I was layered and stacked fabrics to rotary cut. Plus I only like to cut 4 layers at a time with a rotary cutter, more than that and things get wonky.


And sometimes my ruler would move ever so slightly and I'd shave off an extra 1/16 of fabric at the end of a strip. With the die I get perfect strips every time.


So with that other project I ended up debunking all my pre-conceived notions and have come to love using these strip dies, and I was excited to use it to cut out all the strips for this Heart Bargello.  


Once my strips were cut and sewn into a tube, I cut out the columns.


Next was the challenge of opening the tube a the right spot.
I would say this is the hardest part of making a Bargello quilt.  Making sure you break the tube at the correct color.  If you have somewhere to lay out the strips as you go it helps.


This one was put together in sections. So I had small strip panels to work with.


I completed the top in one week.  I started it on February 14, 2021 and the last border was added February 21, 2021.


I even got the backing pieced right away.  And then it sat while other projects took over.


Almost two years later I pulled it back out to finish it up.


I used the same quilting method as my last two bargellos.


But I did shake it up a bit on the white fabric.


Lookin good! Time to bind it!


This one started out so fast, but then stalled, so I am glad to finally have it finished and ready Valentines day 2023.


Happy Sewing!


=^..^=


Wednesday, January 25, 2023

Shades of Blue: Sew It - Show It Blog Hop


Welcome to day three of the Shades of Blue Sew It - Show it Challenge. 
Hosted by Carla of Creatin' in the Sticks.


 This Bargello quilt was planned and in progress and then I halted everything to make the pink one for Project Quilting week 2.  This blue one was going together so quick, and I had just received the perfect pink precut in my Island Batik Ambassador box, so I decided to pause this and make a smaller pink version.  After the pink one was finished I got back to this one and finished it up in time to show off today.

I definitely have a lot of blue fabric, from yardage to scraps.  It seems to be every where, you'd think I'd have more red, since that is my favorite color, but nope, blue takes the prize around here.  The challenge for me was what pile of blue to tackle:  the string bin, the larger scrap bin, yardage, or precuts. 

I decided to go with one of my precuts.  This one is Starry Night, by Island Batik.  I purchased this one a few years ago with the intent to make a Bargello quilt out of it.  Strip packs are perfect for Bargello quilts.  I wanted some extra whites to go with it, so I pulled out some of my neutral Island Batik Yardage and cut extra 2.5 inch strips.


This precut was nice because it had two of every print.  That made it easy for me to make two identical strip panels.  I picked a nice layout, sewed all the strips side by side, and then sewed up the last seam to make a tube. I labeled one A and the other B.    All the "A" seams were pressed one way and the "B" seams were pressed the opposite way.  That way all my seams would nest perfectly together when sewing the columns together.  I did this with the goal to avoid pinning. 


The tubes were really big, so I had to fold them in half to cut my strips. I was a little worried that things would get wonky that way, but it turned out great.


 I designed the quilt to use the entire strip set with minimal fabric left over.  I didn't' want to have a wide scrappy strip set left over and not know what to do with it.   I did give myself a few inches in my calculations in case I cut something wrong.  It turned out great.  These two pieces are all I had left, which isn't too bad and they can be easily taken apart and put in the scrap bins.


I was able to avoid pins for the most part, but I must have wiggled the ruler on one of the white prints when I cut it.  For some reason that row was a wee bit bigger than it needed to be.  Pinning and fudging was needed for that part.  It turned out ok in the end though because you can't even tell.


This quilt is 80 inches long.  When I designed it was thinking about using 2 full strip sets, I wanted 40 neutral strips to go with the 40 blue strips.  I ended up taking out two neutrals, but then added a skinny border so I was back at 80 inches.  If I use yardage again in the future I can take out some of the white rows to make it a little shorter.    The width came out to be 67 inches.  So it is 13 inches longer than it is wide. 


I even used up some of my blue stash for the backing.


For the quilting, I picked  particular prints and followed those up and down with a squiggly line. 

I based the feathers and swirls off those lines.

I used Hobbs Premium Cotton batting on the inside.  A queen size bag was the perfect length.


I was going to quilt the white areas with white thread and the blue areas with dark blue thread, but I was out of white, so I went with a pastel blue for the whole thing.  Turned out to be a good choice.

Now its time for quilt picture overload. lol!


If I got off track with the quilting I just threw in an extra swirl and got back on track.


The sun sure shows off the quilting!


I was watching the live version of Beauty and the beast while quilting this one up, so when I look at it I start singing, "There goes the baker with his tray like always...."


Quilting looks lovely on the back too.


Makes me think of the Ocean just a little.


I also played around in EQ8 and made a mock up using the the new Island Batik line coming out in February called Double Dutch by Kathy Engle for Sarah Fabian of Quilt Basket.  I also put in some of the Island Batik Basic Neutrals.  This version has a nice denim feel to me.


Thanks for stopping by to see my blue creation.

Make sure to visit all the other blogs to see even more blue projects!


Monday, January 23rd

Creatin' in the Sticks - You are HERE!

Tuesday, January 24th


Wednesday, January 25th


Thursday, January 26th


Happy Quilting!


=^..^=


Monday, January 23, 2023

Island Batik Ambassador Unboxing January 2023


I am happy to be selected again for the Island Batik Ambassador program for 2023.


As an Ambassador I received two big boxes of supplies!  Check out my video to see all the fun Island Batik fabrics I'll be using in the next 6 months along with thread, batting, and other tools from Island Batik industry partners: Hobbs Batting, Aurifil Thread, Schmetz Needles, and Deb Tucker's Studio 180 Designs.


Happy Quilting!


=^..^=


Saturday, January 21, 2023

Pink Tint - Project Quilting 14.2


The theme for week two of Project Quilting is Pink Tint.  Some shade of pink was supposed to dominate the project.  I think I got that covered!


In my most recent Island Batik Ambassador box, I ended up getting a precut that was perfect for this project.  Strip sets dedicated to the color pink!  Come back Monday to see all the other goodies in my box when I post a little video of the Island Batik fabrics I get to work with this year.

These are pink gradients from the Island Batik Foundation Prints.  You can get these all the time and can always find one that matches well with their new fabrics lines coming out.


The idea for this project came from a similar project I am working on.  This one is just a smaller version.  My other one was sewing up so fast, I knew I could knock out a smaller version in a week for sure!  


Bargello quilts are super quick to make, they look way more difficult than they really are. 
First you sew all your strips together in one big tube...


Then you cut various size strips from the tube.  That is if your cat will let you.


This is Carl,  he decided these pinks were the perfect place to lounge.


After I got Carl to move, I cut out all the strips and stacked them in order.  I only used half the strip pack for this quilt.  Which means you can get two small quilts from one strip pack!  


I cut the borders from my Island Batik Yardage.


The piecing was so quick, I had time this week to do some free motion quilting. 
Something other than swirls this time around.


I played around with some feathers and swirls.  


I followed some of the pinks playing around with the needle drawing what ever felt fun.


So many pretty pinks!  I love this precut.  It's nice to have everything picked out and already cut for you.  Specially when its Project Quilting week!


Quilt measures 52 x 41.


Happy Quilting!


=^..^=