Sunday, July 31, 2022

Accuquilt Tree of Life and Island Batik

 
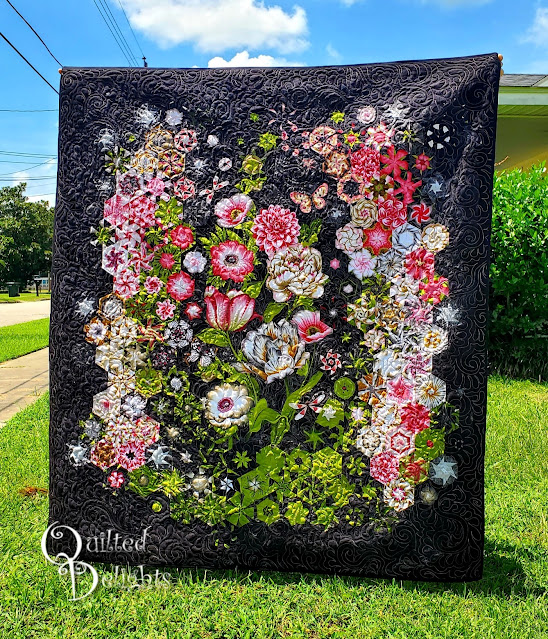
This month Island Batik Ambassadors were asked to create a project using the Tree of Life die by Accuquilt and then gift the project to someone in need of joy this month.

AccuQuilt’s mission is to bring joy to everyone – especially when they need it. That is why, this month, we were encouraged to make Christmas come early for someone who could use a little joy.


We were all sent the die in our second ambassador box of goodies. This die is one of Accuquilt's Block on Board dies (BOB) in which you can cut out all the shapes for the block with one pass through the cutter.


There are a lot of pieces in this one so at first I was going make a pillow, but the pieces cut out so fast and sewed together so nicely I decided to cut out a few more blocks along with some extra half Square triangles for the corners.


I used mostly Island Batik Foundation Prints in this one.  The white is part of their neutral foundations and is called Sprinkles.  The dark blue is called Navy.  The lighter blue is called Dots - French Blue.

I ran out of the darker blue for the final border so I took a swatch of the Navy fabric and pulled out a piece that matched from my personal Island Batik stash. This one happened to have bear paws it. Perfect for these Winter Trees. I could call this quilt Bear prints in the woods.


This was pieced together and quilted with Schmetz microtex needles.
They always work so nice with Island Batik fabrics

.


I am loving this new pressing mat sent by Prairie Spirit Alpacas.  It fits perfect on my mini iron station. It makes quilting quicker when I can press the smaller pieces right by the machine.


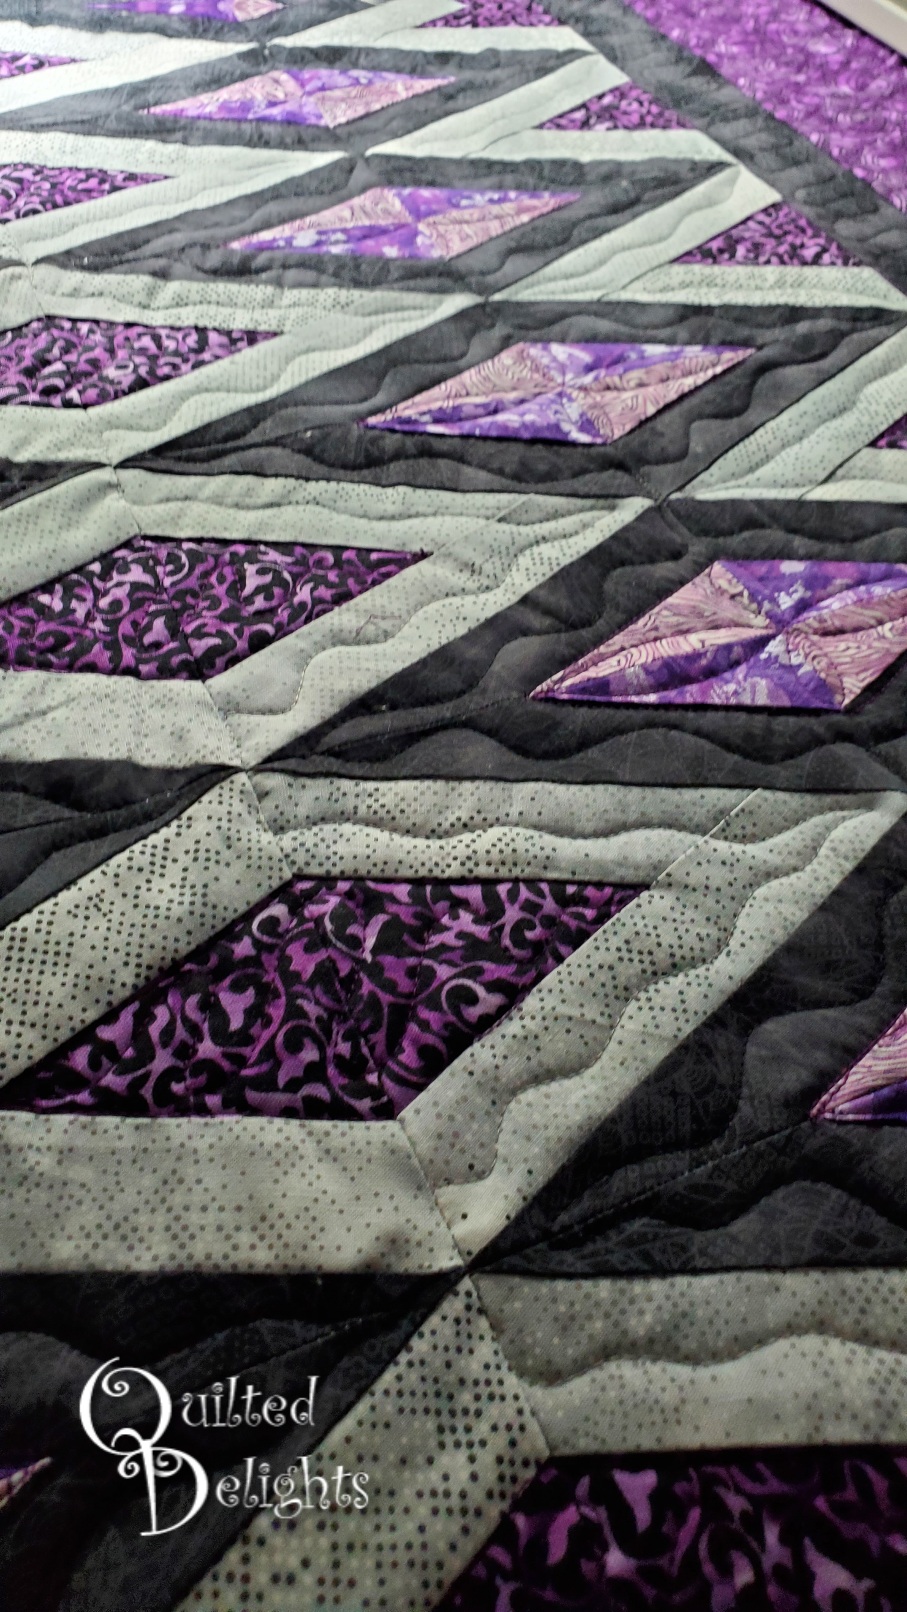
I did some free motion custom quilting on this one.
Continuous Curves
Feathers in the borders
and swirls in the center dark blue.


Hobbs Batting is inside this beauty.
I used their premium cotton batting.


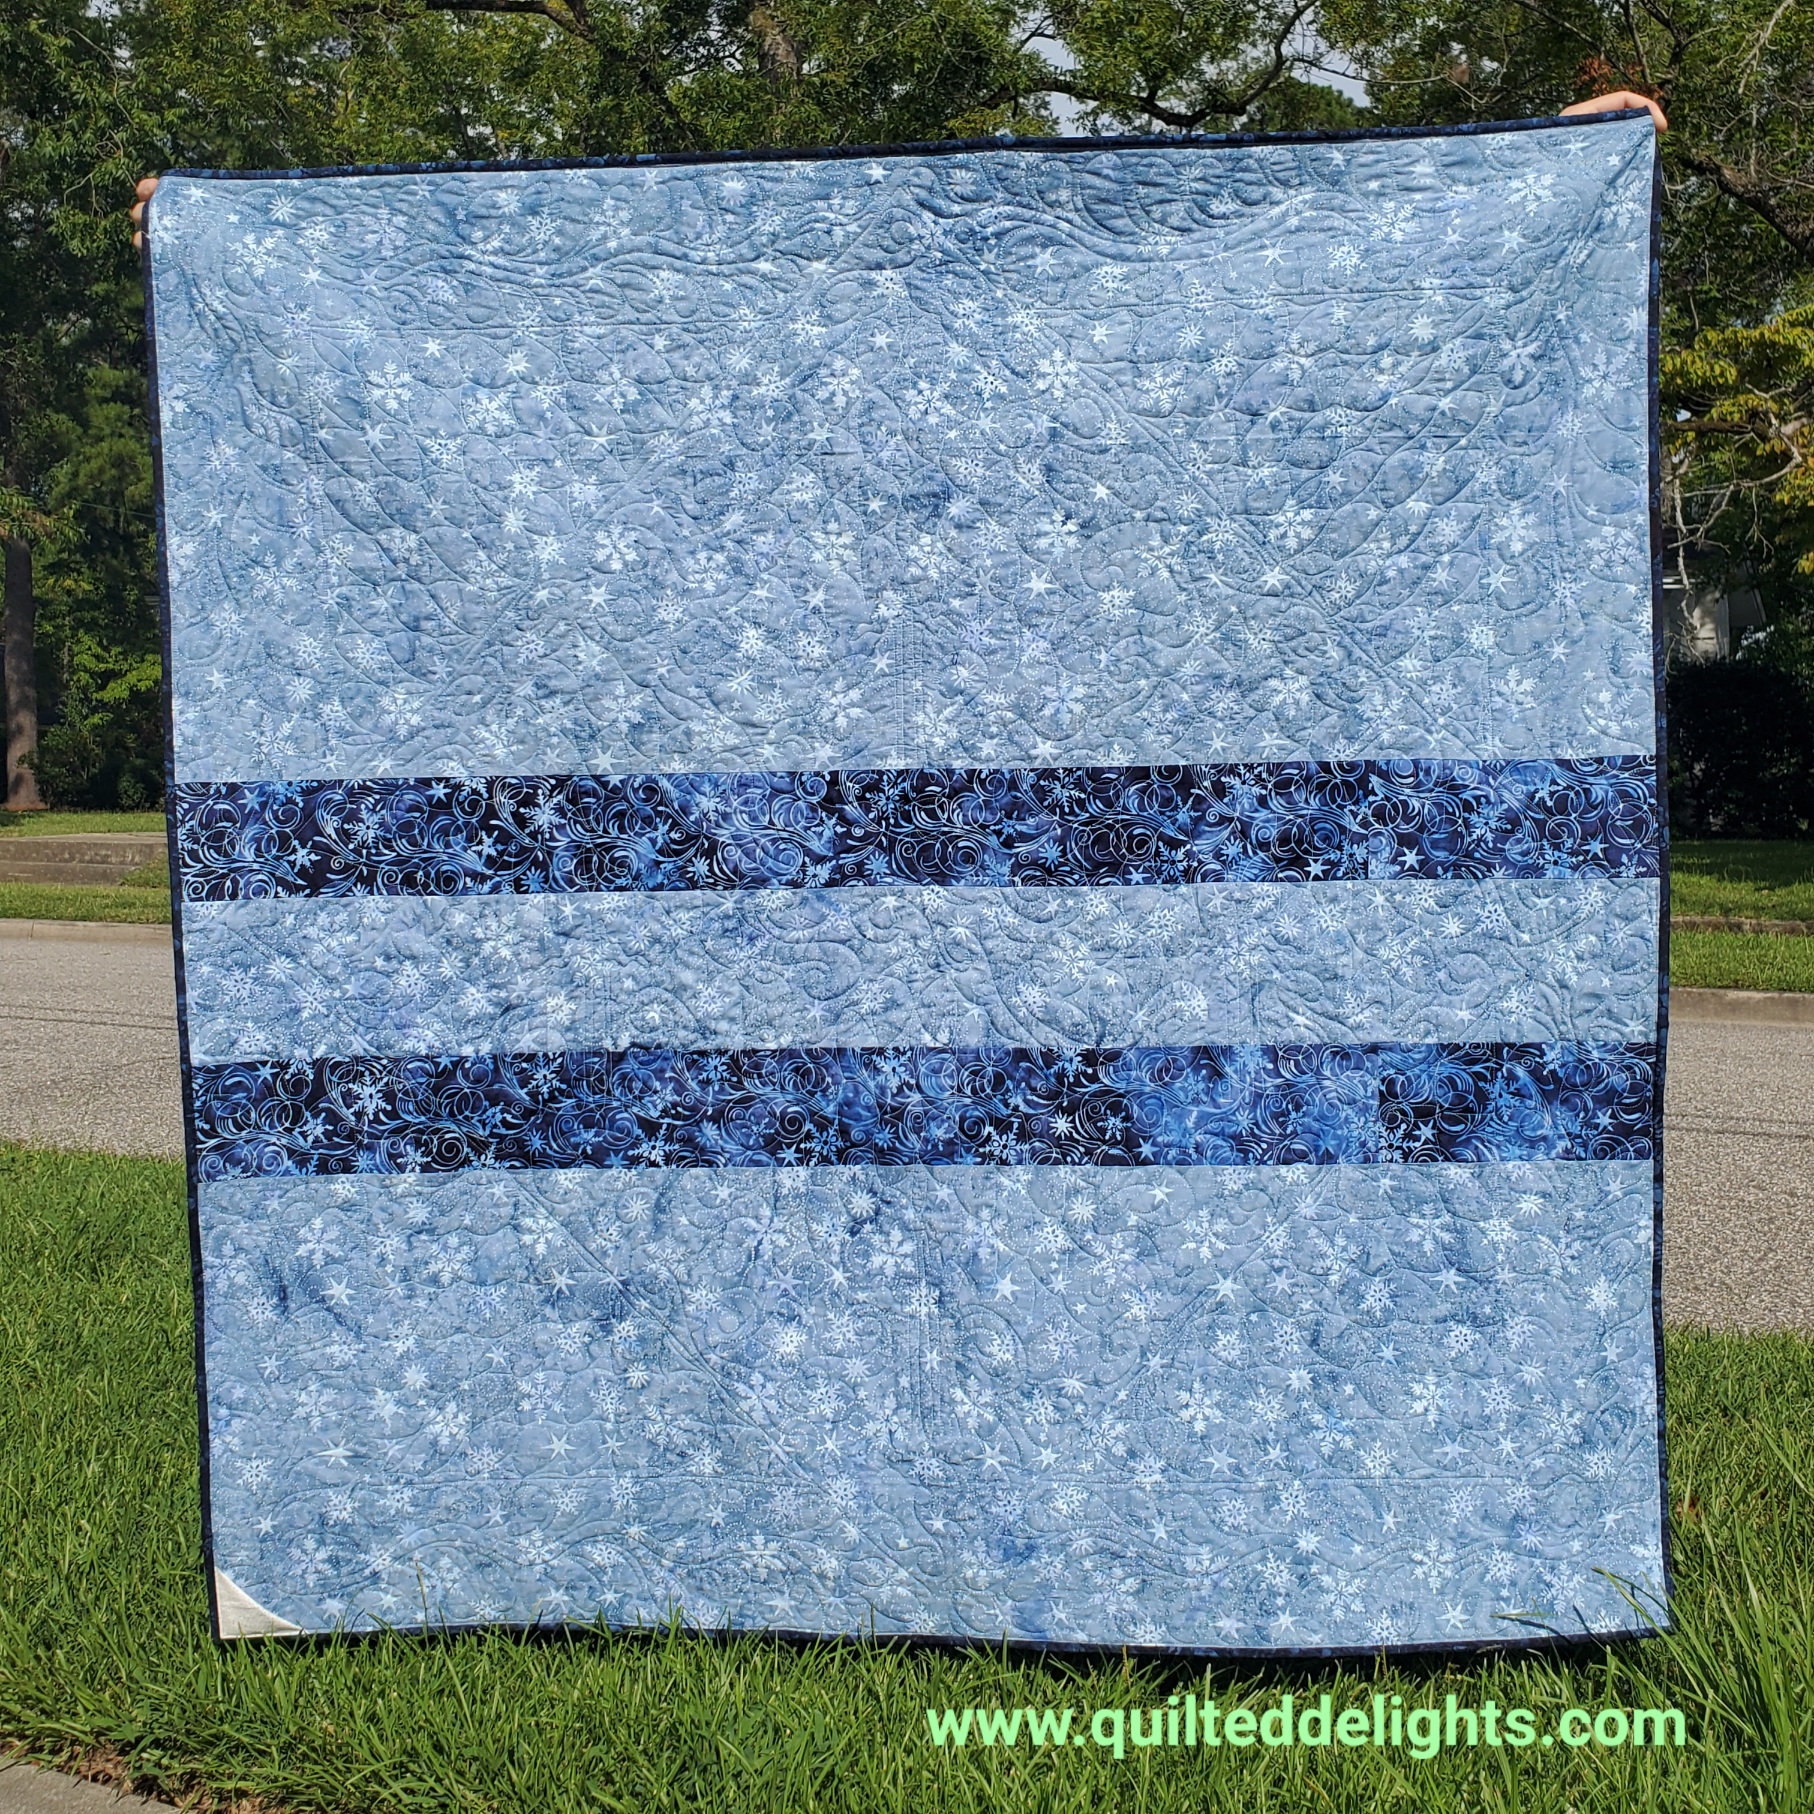
For the back I pulled some snowflake fabrics from my personal Island Batik stash that went well with the colors on the front. The quilt measures approximately 52 inch square and will be going to a dear friend who has had a rough month.


Happy Sewing!


=^..^=


Tuesday, July 26, 2022

UFO Blog Hop - Flowery OBW


I was excited to join the UFO blog hop this month hosted by Joan of Moose Stash Quilting. It inspired me to finish up this One Block Wonder that has been in progress since 2019.  It is made from seven different panels, six cut up and one left as is for the center.

I have a long list of UFOs... not sure I'm ready to announce the actual number here yet. Lol, let's just say I suffer from Quilters ADD. I'm easily distracted by new ideas and projects. 


I will say as of now I have 7 more One block Wonders in different stages of progress.
Some are still waiting to get their hexies sewn and another one is waiting for quilting. 
There are also a few more waiting to be cut up. What can I say, when those awesome panels go on sale super cheap I can't pass that up.


I went through several different layout ideas till I found the layout I loved.  There was a lot of late night sewing for this one, hence the different lighting in this photo.


I like to take pictures as the layout comes together so I can see if anything looks off. 
That is one of the most fun parts for for me, trying to decide what goes where.


Once everything is in its place its time to sew the rows together.  


I like to sew two rows at a time to save thread.
Sometimes I will sew another project in between to have less thread clipping.  That is another reason I have more than one One Block Wonder going.  Sometimes I like to sew hexagons of another OBW while piecing the rows of another one.  


This part usually goes pretty fast when I do two rows at a time.
I tried three at a time once, but then I forgot what pile I was on and messed everything up.
With two piles I seem to do pretty good.


I like to press all my seams open for these.  Makes it easier to quilt later on.


Fitting the panel in is sometimes tricky. I always have to cut a wee bit of it off, but after all is said and done I can't remember which part is gone.  I appliqued half of some of the hexies that overlapped the panel to help everything blend in.


I use lots of pins when sewing the rows together.  It helps keep the points somewhat matching.
I love these thin tulip pins. They are my favorite!


I made the back for this one a while ago and together the top and the back have been sitting in the UFO pile just waiting to be paired with some batting and quilted.


This month, thanks to the UFO hop, it was time to get it out of the closet and into the light of day.


I quilted it with pink thread.  I didn't want a dark color over the pink flowers, so I decided pink would be good.  I did wonder if it would be ok for the black, but as soon as I started it looked fantastic.  I quilted a meander swirl and feather.  Just what ever came to mind at the time.  For the panel in the center I did try to follow the lines of the leaves and flowers, but it was very loose.  


I pulled some older floral prints for the back of this one.  Again with the stripe backing.  
Stripes help me use up the left over scraps and smaller pieces I have in my stash.

This is my ninth completed One Block Wonder.

Be sure to visit all the other blog hoppers today to see what UFOs they are showing off!
Could be real spaceships with aliens or loved UFOs finally getting their time to shine.


Happy Sewing!


=^..^=


Wednesday, July 20, 2022

Island Batik Ambassador July Unboxing

 Its that time of year again,  Time to see what fabrics and tools I get to work with and show off as an Island Batik Ambassador for the rest of the year.  Check out the video below to see a close up of all the goodies that came in my July Ambassador box.


Check out the Island Batik Website to see all the other fabric lines coming out this season.

And a big thanks to all the industry partners who sent items as well.


AccuQuilt

Deb Tucker's Studio 180 Designs

Hobbs Batting

Prairie Spirit Alpacas


Happy Sewing!


=^..^=


Follow me on Instagram

Monday, July 4, 2022

Stars and Stripes 2022


The family fourth of July party was today and I brought another flag quilt to give away.  I made two last year for the fourth and ended up giving both of them away, so I needed one for myself this year.


Pattern is Stars and Stripes by Thimble Blossoms.


This pattern sews up super quick with 15 large flag blocks.   I actually made them both in less than a week.  I spent Wednesday and Thursday night after work cutting out the flag fabrics.  I used several different Island Batik Fabrics for the top and the binding.


On Friday night after work I sewed up the flags.  I sewed up the first set and thought it went super fast, so I timed my self sewing the second set and it took one hour and 7 minutes to sew 15 flags together.


Quality Control test halfway through by Boonky and Carl.


Saturday I had a lot more time to sew, so I had time to cut out the sashing, sewed the tops, and prepared the backs.  My plan was to make one for the party and only make two if time allowed, which it did.


Sunday I did the quilting and the Binding.  The long arm really helps speed this up.  No more rearranging furniture and crawling on the floor to baste quilts.  


I really like the navy sashing.  I made one like this last year and loved it and gave it to my neighbor but this one is staying here with me.


I did some wavy quilting on both of them using blue thread.  I wanted something that wouldn't look too stark on the navy sashing and would also go well with the white strips.  Blue worked perfect.


I used up a nice patriotic print I had in my stash for the back.


I like the sashing on this one too.  It is a little brighter than the aqua the pattern calls for.  It reminds me of pool water.  


I used a lighter baby blue thread to quilt this one. 


I found some cute 4th of July gnome fabric for this one.  I was walking by it in the store and couldn't pass that up.  It makes the perfect backing.  This quilt went to the winner of the balloon cup challenge at the 4th of July party.  


Carl wasted no time testing the quilts out.  Cat tested, Cat approved!


Happy Fourth!!


Happy Sewing!


=^..^=


Saturday, July 2, 2022

Purple Triangle Quilt


 This quilt started as a special request from my youngest son more than a year ago. I finished this in May this year, but finally got around to blogging about it today.  My son said he wanted a triangle quilt... literally in the shape of a triangle,  and he wanted it big enough for his bed.  

I really was not excited about the triangle quilt at first, so I did drag my feet a bit, but as time passed and progress went extremely slow, I decided I needed to put a deadline on this so it would get done.  I picked my son's birthday.   


I started out making a diagram in EQ8.  I had to make the triangle wide enough but also make sure it didn't get ridiculously long.


 I came up with this rectangle paper pieced block.  It is just a wee bit longer than it is wide so it makes the length I wanted without getting super wide.  It also allowed me to create the triangle shape for the quilt by only sewing half the block for the edges.  


I also used this same block for my Island Batik Ambassador Project in January.  You can see that here.


The original design did not have a border, but my son said he wanted one, so I played around with colors and we ended up with a black inner border and a purple outer border.  This made the quilted even larger.

Boonky decided to help pick out borders too.


I was really concerned about how I could create a triangle back without wasting so much fabric and how to pin it to the quilting frame.


 I had the perfect fabric for the back, more triangles, but it wasn't long enough.  It didn't go all the way down to the end of the triangle. Luckily since the top was a triangle I could cut off the triangle shaped edges of the backing that stuck out from the top and sew those together to create another triangle.  I was able to sew that to what I already had and got the length I needed for the whole back.


Now I had to figure out how to attach a triangle shaped back to the quilt frame. I decided to sew some muslin triangles edges halfway down, just enough to get something to pin the the end of the machine.  It worked out pretty good even though there were some holes in it, and it needed some pins.


The backing rolled up just fine on the frame and I didn't have any issues quilting it.  


I did some quick wavy line quilting and added the binding just in time for my son's birthday.


My son did know I was working on the quilt for several months, but he had no clue it was even close to being finished.  I kept its progress hidden under other projects and when ever he would ask about it, I would tell him I was still working on it and that maybe, just maybe, it would be done in time for Christmas, 


The last few days I thought for sure he would come in the sewing room while I was quilting it and see it on the frame.  I did the quilting early in the morning while he was sleeping, but I needed two mornings to quilt it.  So it sat on the frame all day with the door closed.  I stayed out of the sewing room that whole day while he was awake.  Luckily he didn't go in there so so the surprise on his face when he opened it on his birthday was fantastic!.


Happy Sewing!


=^..^=