Monday, July 1, 2019

Results from Teaching a Beginner Quilt Class


I started teaching a beginner quilt class at the beginning of this year. These 9 patch quilts are the first project we worked on. As the teacher I sew along with the class and make what they are making.

What made me decide to start this class was the phrase, "I wish I could quilt."  Over the past year I  have heard that phrase a lot when talking to people about my quilts.

I would respond, "If you can sew a straight line you can quilt." Sometimes I would add, "If you are really interested, I can teach you."  Sometimes I got an "OK"... or "I have a machine, but never even opened it,"... or "I'll have to take you up on that."  But no one really took me up it and I'd still hear the phrase,  "I wish I could quilt."

So I decided to start a quilt class.  I mentioned it to one of my friends at church and she said we could use the church building and suggested Tuesday nights.  I knew I couldn't meet every Tuesday night, but wanted to do it more than once a month, so we decided on every other Tuesday at first and then after the first couple of classes we changed to the 1st and 3rd Tuesday of the month.


I opened it up to anyone who wanted to come free of charge. All they needed to bring was their own supplies. My husband even comes and started his very own quilt.  This is his blue one,  He sewed most of the 9 patches and quickly realized sewing is not for him, so I helped finish his up.

He still likes to come to class though. He enjoys the design process, playing with the pattern layouts, and hanging out with me, but the sewing part just isn't for him.

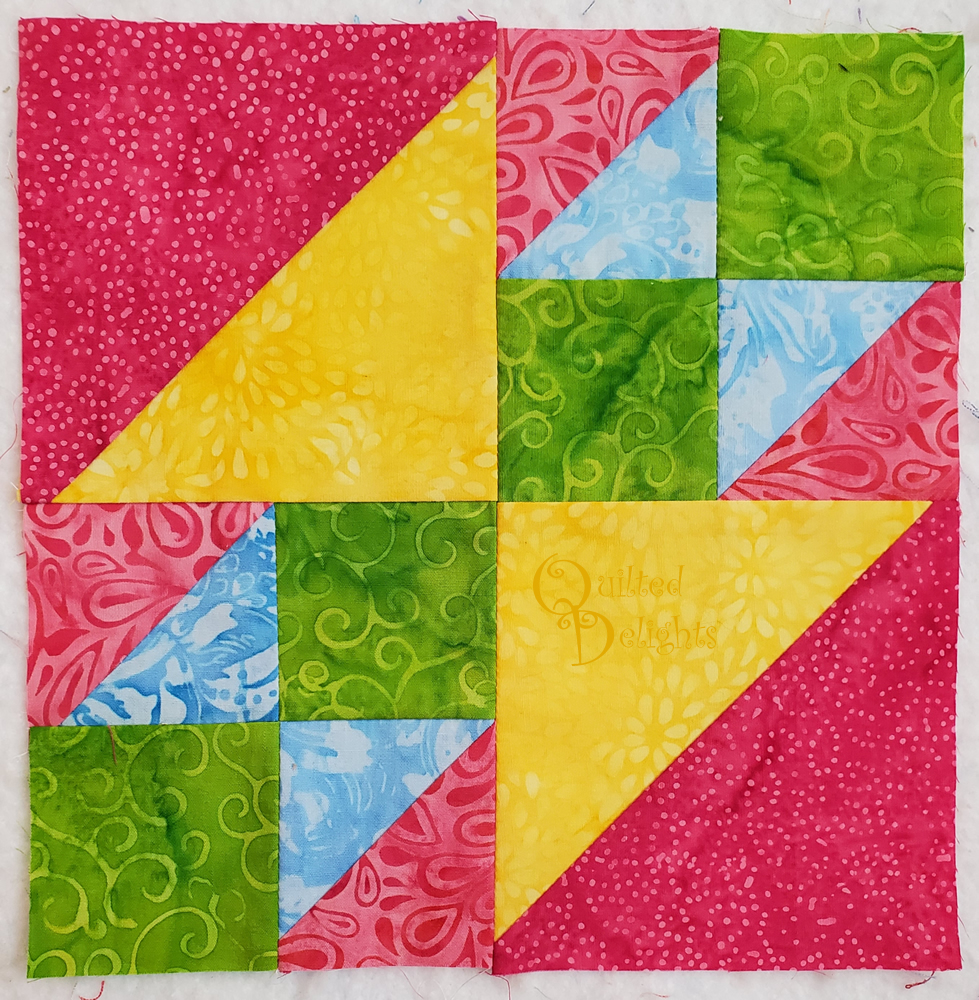
It has been a fun class.  All skill levels are represented from those who have never sewn a stitch on their machine to people who have made several quilts already.  We have already done a second quilt with half square triangles and are about to start our third quilt in the middle of July.


I=^..^=


Saturday, June 29, 2019

Island Batik Try it! - Fabric Origami

The June challenge for Island Batik Ambassadors is "Try It!"  This month we were to try a technique that was new to us using Island Batik Fabrics. So I tried Fabric Folding.


  At first I wasn't sure what technique to use, I have tried a lot already in all my years of quilting.  Hmm... That may be the reason why I have so many UFOs.


Then I remembered I remembered the book Fantastic Fabric Folding that has been sitting on the shelf for a couple years.  I had never tried any of the projects in it, only admired them, but not anymore!  This month I folded my first origami flower and I must say it was a super fun technique.

I used fabrics from the stash builders provided to me by Island Batik and some left over scraps from other Island Batik projects.  The stash builders are perfect for cutting 5 inch squares, which are smaller than the instructions called for in the book, but the folding technique is the same, so I just ended up with smaller flowers.


I made four flower sections with the intention of making the mini quilt in the book, but halfway through I decided I wanted  something functional that could stay out all the time instead of being swapped out with the seasons.  I opted for this fabric box and put the flower on all four sides.


I started out using the Fabric Keepsake Box tutorial from www.threadsmagazine.com, but altered the measurements to  make it the perfect size to fit some of my favorite one and two yard Island Batik cuts and left off the box top.


The tutorial called for cardboard cut outs for the inserts, but I wanted something a little more durable, so I broke out my old 26 x 36 cutting mat and cut my inserts from that.  Now if it ever gets wet for some reason the inserts will be fine.

It is the perfect width to set at the end of the cutting table and show off those yummy fabrics.


My handsome helpers.


=^..^=


Thursday, June 20, 2019

One Block Wonder - Blue Heron Panel


This is my second One Block Wonder using a panel 


I saw this Panel made into a OBW on the One Block Wonder Quilt Forum Facebook Group and knew I had to make one.


 The first panel I used last fall on the Halloween OBW  had a border around the panel.
This time I wanted to skip the border and have the hexagons blend with the panel. 


I cut my original strips 2 3/4 inches and got a lot of small hexagons to work with. 
I used almost all of them for this quilt.


Finding the perfect layout took quite a while.  


I had it up on the design wall for a long time and moved hexagons around several times till I found a layout that spoke to me.


I pressed all the seams open. 
Makes it lay flatter and easier to quilt.


For the quilting, I wanted to carry the design elements from the panel into the hexagons.  


I used the quilting to follow the curve of the clouds on through to the hexagons. For the rest of the panel I traced the bird and the lilies in with the thread.


The rest of the hexagons got an all over flower meander.


These One Block wonder quilts are addicting.  
I have already purchased fabric to make a couple more.


 With this one finished I can cross one item off my list for the second quarter Finish-A-Long for 2019.  Yay! I finally have a UFO finished off my list for the first time in a long time.  Each quarter I usually work a little on a lot of them, but never finish one.  So I'm super excited to have one completed!!  This one was started in December of 2018 and I finished it, complete with label and hanging sleeve, in June 2019.


=^..^=


Friday, May 31, 2019

Make It Modern with Island Batik and Hobbs Batting


This month's challenge for Island Batik Ambassadors was to make a modern quilt and use any of the Hobbs batting that was sent to us. 


 I went with the Hobbs Heirloom Natural Batting with Scrim Binder.  I love how this batting sticks to the batik fabric, I never have to worry about it bunching and puckering on the back while quilting.  


For this quilt, I really wanted to use the Snowberry Strip Set that was sent to me from Island Batik, but I had a hard time deciding on a pattern.  I couldn't decide if I wanted to go super modern with improv pieing and lots of negative space or just a tad modern with an altered traditional block. 

I really wanted something to show off all the fabrics.  I looked at all kinds of patterns on the internet (there were so many good ones to choose from) and even drew some of my own, but time kept ticking away and still couldn't settle on a pattern.  It was getting close to the end of the month and I hadn't even cut one strip for this project! Ack!

Is there a word for Excessive Quilter Pattern Choosing Indecisiveness??
If so I suffered from it big time this month.


As the end of the month drew near, I ended up having to go with a pattern that could be sewn up in a couple of days so I went with my version of a Strip Tube Quilt.


I used all but the lighter colors from the strip set and added some of the gray mini dots yardage from the same Snowberry collection for the larger strips.  My Strip sets ended up being 6.5 inches wide.  This made nice size blocks, which made the quilt come together even quicker.


I am totally in love with this color scheme of Snowberry and the gray Aurifil thread I used for the quilting blended well with all the different colors of the fabric line. 


 The gray thread disappeared on the gray fabric and wasn't too over powering on the dark purples and blacks. It was the perfect color for this project.


I like how the placement of the squares created some fractured square diamonds. 

This quick quilt has turned out to be one of my favorites.  I see different patterns depending on the angle it is placed.  It measures approximately 50 x 67


=^..^= 

Monday, April 22, 2019

Island Batik Ready. Set, Go! Baby Quilt with Accuquilt

I love bright colors, small pieces, and easy cutting and this baby quilt has all of that thanks to Island Batik and Accuquilt.  
   

The main challenge for the Island Batik Ambassadors this month was to use the Accuquilt Go system to cut out our project.


 Accuquilt graciously sent the 8 inch block bundle of the Ready. Set. Go! to the Island Batik Ambassadors this year.


The Ready. Set. Go! bundle comes with a book by Eleanor Burns that has instructions for making 46 different blocks using the dies that come in the bundle.


My quilt is made up from two blocks from the book: 

Old Maid's Puzzle


and Flying Birds


Each block was alternated and set on point in the quilt


EQ8 helped me get the layout and colors I wanted.

EQ8 Version

Final Version


I used the Stash builder rolls sent to me by Island Batik as a 2019 Ambassador along with some yardage for this little quilt.

I cut every single shape using the Accuquilt.
I used dies #2, #3, and #5 for the blocks and used die #4, the quarter square triangles, to get the smaller yellow and pink half square triangles for the sides of the quilt


 I love these half square triangle dies.

They cut perfect triangles every time with no dog ears, and they sew up perfect with no trimming down.  I am hooked on these dies!  I need one for every size HST!


I pieced together two small left over pieces of my Hobbs 80/20 batting for this one. I save all my leftover batting. Larger leftover pieces are perfect for smaller quilts.


I broke out my Aurfil Threads to quilt this one up. Patel yellow was used for the pink, green, and yellow fabrics and the blue went over the purples and blues.


The Auriful and the Hobbs combined sure made the quilting pop.


I got a break in the clouds for an outside picture at the park. I love the new park only two blocks from my house.  The trees are turning green and getting g fresh piles of mulch. Check out the pile put on that tree on the left.  You can never have too much mulch. Haha.


=^..^=