Thursday, March 14, 2024

Stretched Pinwheels and Free Templates


Check out my new Stretched Pinwheel quilt!
It's a fun smaller quilt measuring 66 inches x 48 inches.

 I still had some end pieces left over from my Lugnuts quilt, so I trimmed them up using my Creative Grids 60 degree ruler and started playing around and ended up with this cute quilt.  


Keep reading to see how I put it together. The link for the free templates is at the bottom.


The odd shapes I had left over weren't wide enough to cut into full triangles, so I cleaned them up into longer triangles.  Similar to what you would have if you cut a rectangle in half on the diagonal. 

I was able to get 23 triangles that had the angles going in the same direction.


 I fiddled around and decided to see what they would look like as pinwheels.  They looked pretty good, 


I needed a little more background fabric compared to traditional pinwheels made with Half Square Triangles and when I sewed them together I felt like there was too much white staring me in the face.


So I cut off the opposite corners at the same angle as the pinwheels and...


Added some bright green triangles.  Pink and Green are always a good color combo!


I needed one more triangle cut on the correct angle, so I sewed some smaller halves to make the last triangle I needed. I can't even notice it is mismatched from far away.


I wanted the finished quilt to be a wee bit bigger so I added some 2 inch sashing and a few borders.

The green inner border measures 1 inch finished, and the outer border is 4 inches.


I had more triangles cut on the opposite diagonal and made two more blocks.  This angle made the pinwheels spin in the other direction and didn't look right on the front, so I put them on the back.


Most times, I design a quilt in EQ8 and then make it, but this time I made the quilt first and then drew it up in EQ8.


I wanted to be able to easily see what it would look like in other color ways and to see how it would look with solid triangles.   It was fun to play around with.


 There are many ways to alter the colors and come up with different looks.

Click the image below for a free template to make your own blocks.  The templates makes one 8.5 inch section of the block.  You will need to make four sections to create one pinwheel block.


Happy Sewing!


=^..^=


Tuesday, February 20, 2024

It Moose Be Love Blog Hop


Welcome to day two of the "It Moose Be Love"  Blog Hop, hosted by Joan of Moose Stash Quilting.
As Joan said on her blog, Valentine's day might be over, but the Love continues.  This blog hop challenged us to show off what we love.  I love fun patterns and this one caught my eye a while ago.  It is called Lugnuts by Highway 10 Designs.


The original quilt on the cover was done in browns, but I opted for brighter colors for mine.  I love bright colors and I love batiks.  These are prints from my personal stash of Island Batik prints.  

I love Island Batik fabric, and I get a nice supply of it in my Island Batik Ambassador box twice a year, but I also have a healthy stash that I purchased on my own. What can I say,  I love the stuff!


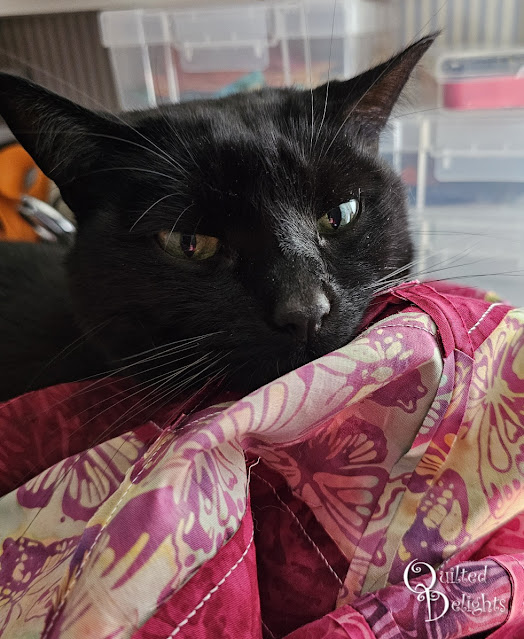
I also love my kitty helpers.  I had two helping out with this project,  Carl and Boonky.


I am not sure how much "helping" Boonky did this time around.


Other than to remind me when it was nap time.


He's so cute!


This quilt uses 9 one yard prints: three darks, three mediums, and three lights.  


It is also sewn together as triangles and I love triangles! 


I also love pieced backs!  The pattern shows how to use some leftover half hexagons for a small strip on the back, but I also used the leftover strip pieces that weren't quite large enough to cut another triangle from.  I didn't want them sitting in the scrap bin for years, so I added almost all of them to the back.  The ones that didn't fit have already been designed into another quilt. Stay tuned for that one!


I did some quick meandering hearts for the quilting and after a quick search on YouTube for a refresher on binding odd angles, this one was finished!  The pattern does have diagrams for doing the binding, but sometimes I like a moving visual.


Be sure to check out all the other blogs to see what everyone else is loving this month.


Happy Sewing!


=^..^=


Thursday, February 8, 2024

Island Batik Log Cabin Blog Hop


I am excited to show off my Lone Star Log Cabin Quilt!  Using the Island Batik Flutter Wings fabric line by Kathy Engle


This month Island Batik Ambassadors were asked to play with Log Cabin blocks to help show off the new Island Batik fabric collections hitting stores now!


Flutter Wings is right up my alley, bright and full of dragonflies, birds, and butterflies.
The colors all blend so well together and make fantastic log cabin blocks. 


I was also excited to get this new Oliso Iron in my January Ambassador box.  The TG1600ProPlus.  My old iron was hanging together by a thread, literally, the sole plat would flop when I used it.  It was definitely time for a new iron.  And this one is fantastic.  I love the smooth sole plate. It pressed all my half-yard prints so smooth.


I started with the diamond log cabin blocks, which turned out way bigger than I intended.  So the square cabins ended up being 16 inches.  Making this quilt huge!  Log cabin blocks are quick to sew up, so it's pretty easy to make a huge quilt if you cut your fabric strips wide.


This block ended up being 16 inches.  All the prints and colors blend so well together.


I enjoyed auditioning color combos for each round of log cabin blocks. The fabric prints and colors complement each other well.


I pieced and quilted the whole project with Schmetz needles.  I used an 80/12 microtex needle for the piecing and an 80/12 universal needle for the quilting.  Sometimes I use a microtex needle for the quilting but this time I grabbed the universal and it quilted through all the layers without any issues.


Of course, as soon as the quilting was done, Avi had to do quality control checks.  I do believe it passed as it was difficult to remove him to start the binding.


To make the diamond blocks, I started with a 2 1/2 strip and cut it into a diamond with the 45 degree line on my ruler.  The logs that went around it were 2 inch strips.  I sewed one log in, trimmed it, then added the next.  I kept going around the cabin till all the logs were on.


I outlined each block in Island Batik solid black for a little bit of a stained glass look.


The square blocks ended up having large logs and small logs. The orange prints were cut 2 1/2 inches and the blue prints were cut 2 inches to give the block an off-center look.


I quilted an all-over floral swirl design on it with some teal thread.


The quilt turned out huge! An 80 inch square. My husband's wing span was not big enough to hold it up for a full shot of the quilt.  So he hung it over the dock railing at the park.


The fabric colors almost match the colors outside but are more vibrant. Yellow grass and blue skies.


We just needed some butterflies and birds to go with it.


I did see a pretty blue bird at the park, but he was too quick for a photo.


Thanks for reading along and be sure to check out the giveaway hosted by Island Batik. 
They are giving away two fat quarter bundles.  You can visit their blog post for all the details on how to enter!


This giveaway ends February, 9 at 11:59 pm PDT. Two random winners will be notified by email on February, 10 and announced on the Island Batik Facebook page on February, 13. If the winners do not respond within the first two days after being notified, two new random winners will be chosen and notified. Please check your spam folders!


And don't miss my fellow Ambassador, Suzy Webster,  to see what she did with the Flutter Wings Collection.


Happy Sewing!


=^..^=