

Welcome to the final day of the Island Batik "All Puffed Up" Blog hop.

Today, Connie, of Kauffman Designs, and I get to show off our creations using Sunshine Garden, the new Island Batik fabric line by Kathy Engle for Terri Vanden Bosch of Lizard Creek Quilting.

This line is so bright and fun, right up my alley! It has fun vegetable and seed packet prints in some of my favorite shades. And strawberries. You can never go wrong with a strawberry print.
Sunshine Garden is arriving in shops now. You can find it today in these shops today:
Creekside Quilts (OR)
Hancocks of Paducah (KY)
Castle Sewing Centre (CANADA BC)

I made puff quilts years ago, and lots of them. 2000 was the year of puff quilts for me. I made some for family and friends and even sold a few online. I even made triangle shaped puffs and a velvet puffed baby set. By the middle of 2001 I decided I was tired of stuffing puffs under the machine and made my last one. I said I would never make another one.
Fast forward 22 years later, I saw all the fantastic puff quilts popping up on Instagram for the Ombre Puff Quilt Sew along. Some of the layouts were so bright and fun. For half a second I contemplated making another one, but I quickly told myself, "No". I was happy to enjoy the beautiful work from afar.

Fast forward a few more months....here I am making another puff quilt for the Island Batik Ambassador February challenge. I wasn't too excited when I first saw the theme, but I'm a trooper, so I got to designing and decided I would try a new method of construction this time around to make things more enjoyable.

Using my old method, I ended up with long tubes to stuff and seal up. I would stuff each row and then sew down the column sealing those squares, then do it again till I got to the last column. This meant I was pushing and pulling fabric for each row repeatedly till I got to the last column. The bulk was not always fun to handle under the machine.

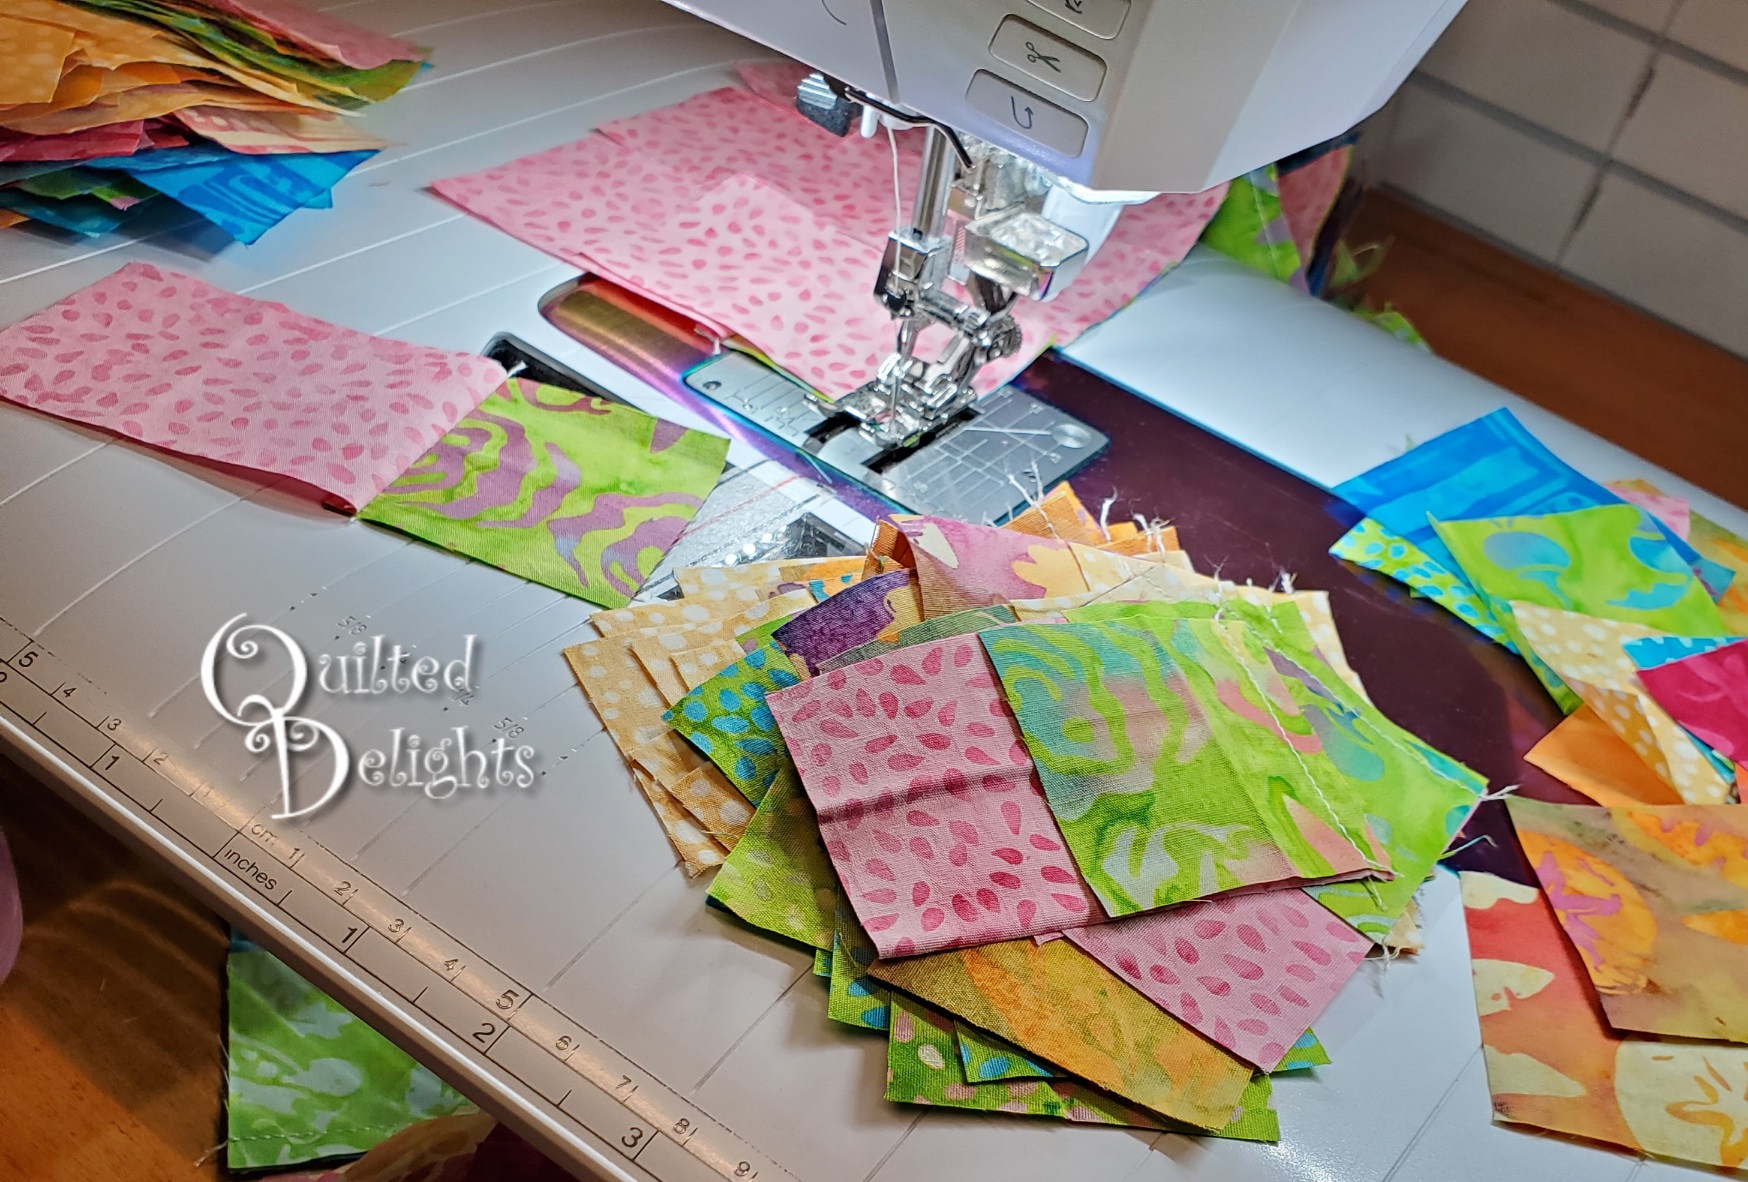
I didn't want to do that this time, so I opted for the individual puffs method, 195 puffs to be exact. This made it much easier to handle under the machine. There are more seams and more fabric this way, as well as the final step to tack down each puffed square to the back, but as far as time to make it, I'd probably probably say it evens out since I spent less time pushing and pulling the stuffing and fabric and I didn't have to get the broom handle out to stuff the puffs at the end of the tube.

The quilt did shrink considerably though out the process.
I started with 5 inch blocks.

After they were sewn to their muslin backs they became 4.5 inch blocks.

After they were sewn together in rows they became 4 inch blocks.

After they got some poly fil in them they scrunched up a bit more and the whole row shrunk about 4 more inches.

I did enjoy this method a little more. I only had fabric on the left side of the machine when closing the squares instead of fabric on both sides of the machine. It was much nicer.

I also wanted to try something other than than plain squares this time around, so I tried out a version of the square in a square block. I left more fabric around the edge of the first square though so it wouldn't get lost in the pleating.

Here is what the back looked like before adding the official backing.

Already cat tested and approved even before I finished puffing the last row.

I wasn't sure I could put a puff quilt on a long arm, but I wasn't about to floor baste (another thing I said I would never do again). So I gave it a shot. It worked out pretty good and I was able to tack between each puff with a plus sign.

I did add a layer of scrap batting between the puffs and the back fabric. Some of the joining seams felt a little hard, so I wanted to soften it with some batting.


I used some left over pieces of Hobbs Heirloom Premium Cotton Batting and put it between the puffs and the backing fabric.

I pieced and tacked it together with Schmetz needles. Their chrome microtex 90/14 needle worked great and I didn't' have any issues tacking it on the longarm with these needles.
.jpg)
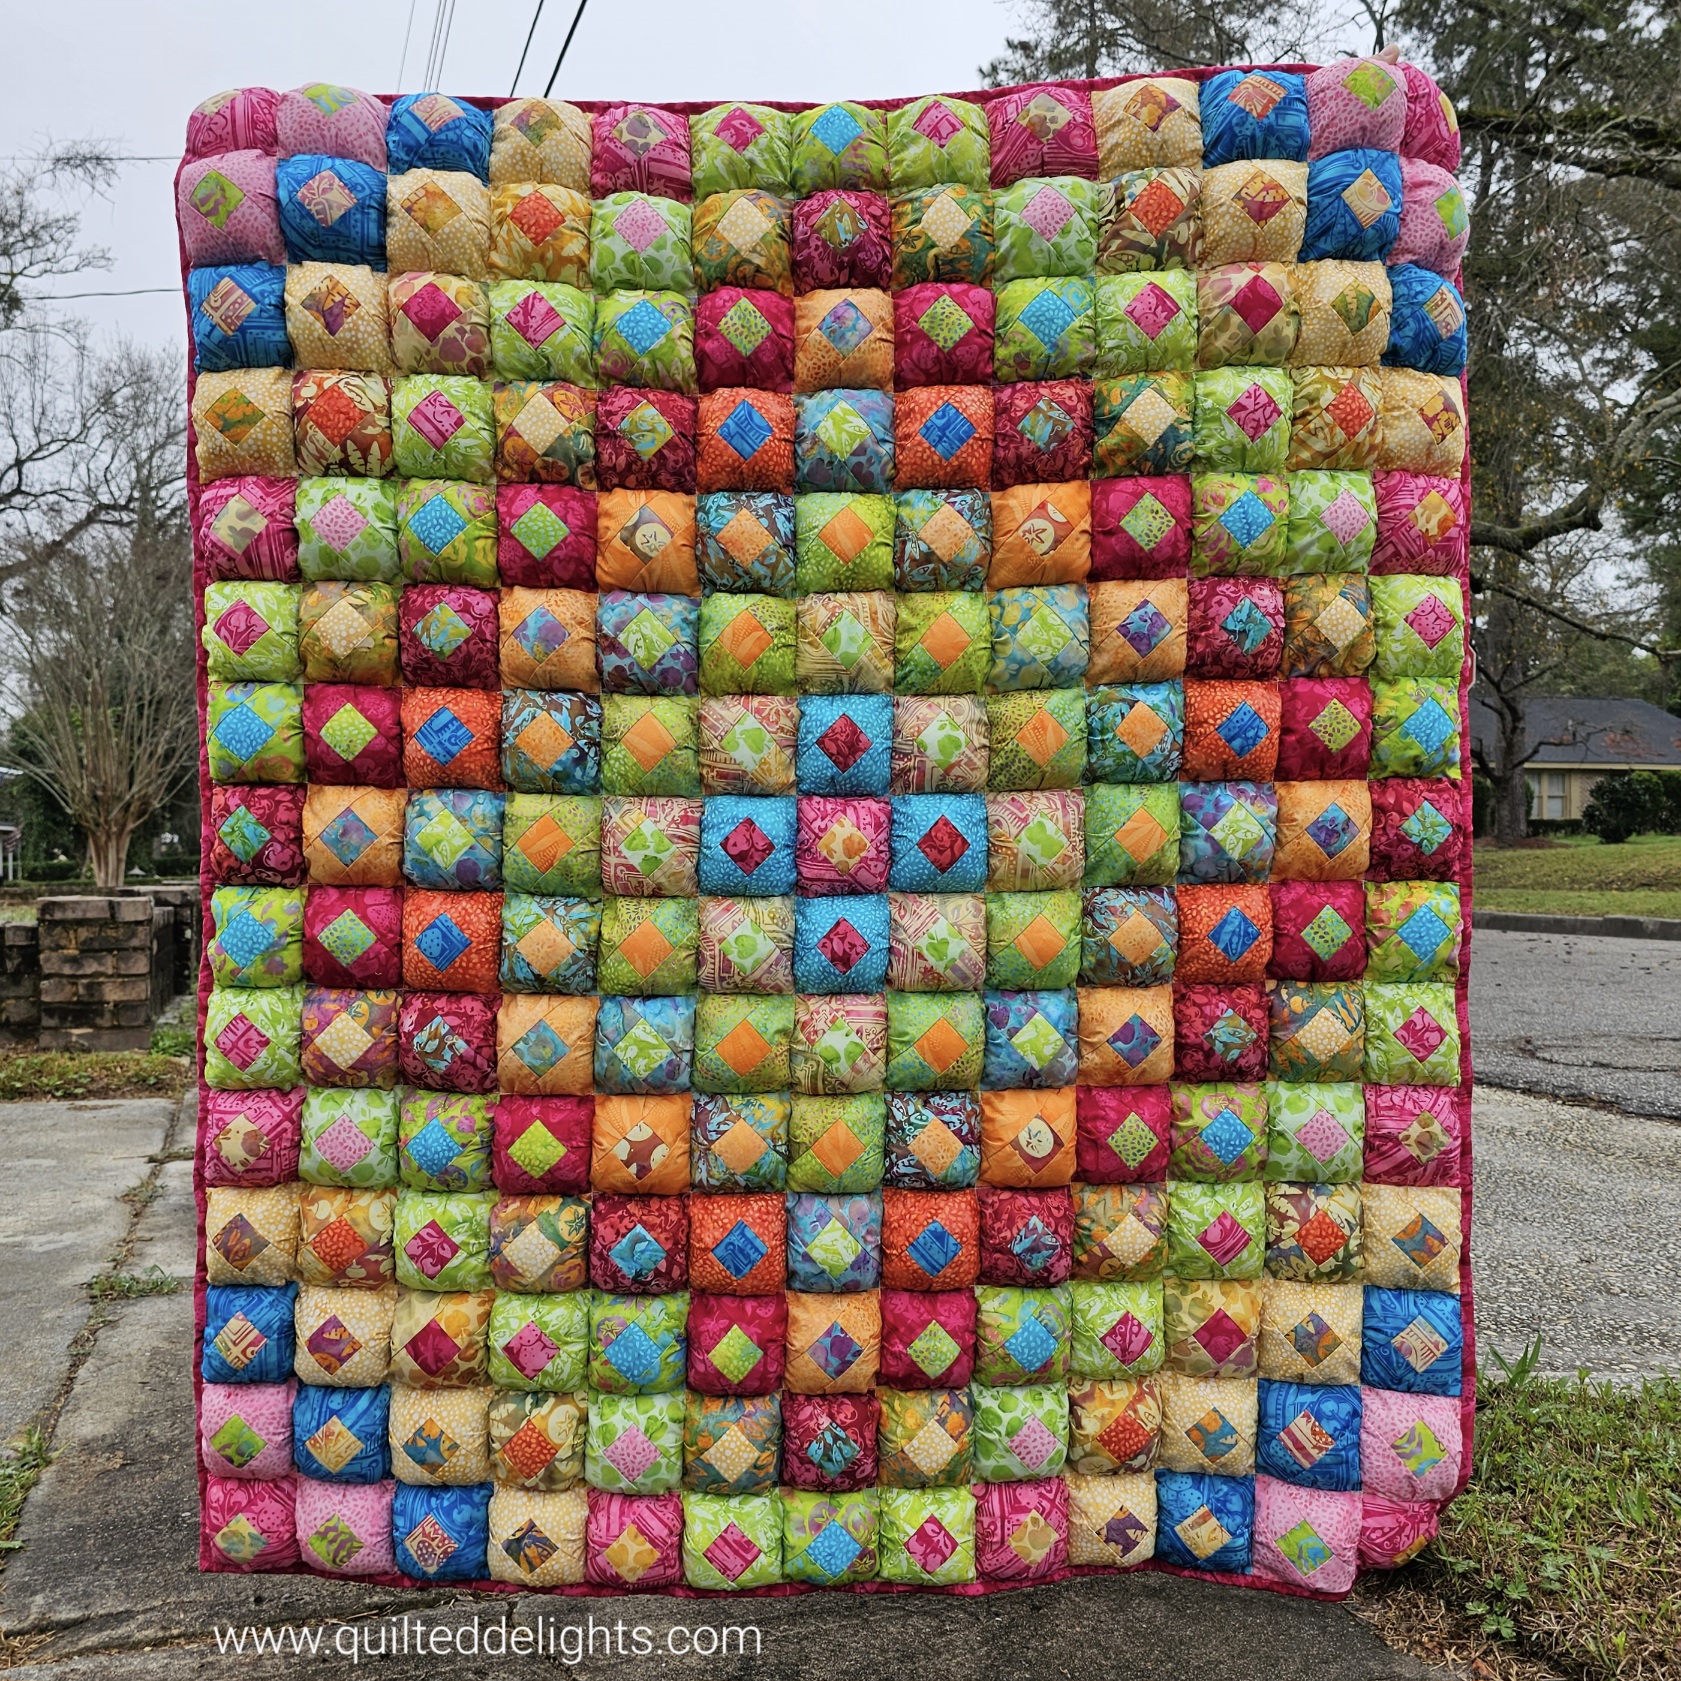
I opted for an Around the World style pattern for this one.
I like the extra center squares, they give it a unique look.

It is a heavy quilt with all that puffy stuff, three layers of fabric, and some batting.
My son joked and said said it was easier to hold it this way.

I'll admit, I never pictured myself making another puff quilt, but I do like how this one turned out. I might not make another big one, but the kitty liked it so much I could see myself making a small kitty sized version in the future.
.jpg)
One more picture just for fun.
I like the diamonds in the middle of the blocks, gives an added sparkle. Yes, Kitty wants a mini version.
ReplyDeleteI love it! The pieced squares give it such a fun extra punch of color. You kitty looks happy. Have a great day.
ReplyDeleteWOW Leah! This is absolutely gorgeous! I love the pop of extra color that the squares in a square make. And I really love this collection. I think it is my favorite so far. You did a wonderful job. Thank you for sharing.
ReplyDeleteLeah, your quilt is awesome! I love the pieced blocks and the layout you used, especially adding the blues strategically among the pinks and greens! Fantastic! It's fun to see how our pets love our quilts! You really need to make kitty his/her own puffy quilt! LOL
ReplyDeletewow this is gorgeous. I love your square in a square idea. It gives it all more interest along with the pattern Around the World. That fabric is so fun and pretty. Your son is funny. I love how our kitties love to quality test and approve of our quilting/sewing. Thanks for sharing. quilting dash lady at comcast dot net
ReplyDeleteWow you guys amaze me great jon great blog hop....love your wow can't wait to show my mom....
ReplyDeleteIt is gorgeous with the bright colors and Around the World !
ReplyDeleteBeautiful and complex job! The square in a square really presents a different appearance. Your cat has really become the star of the post.
ReplyDeleteLove the square in a square and the fabrics you were given. Your cat is truly the star of the blog post! Beautiful job.
ReplyDeleteAbsolutely gorgeous!
ReplyDeleteI can't even imagine how much work that was, but it turned out absolutely amazing!
ReplyDeleteI'm impressed, this took some serious thought and time. Beautiful.
ReplyDeleteAwesome job. Love the extra punch the square in a square gives, and it was fun seeing how much it shrunk as you worked on it.
ReplyDeleteI am amazed by your quilt! How fun!
ReplyDelete